

After cutting the pieces to length and grinding the paint and rust off the welding surfaces, I used those magnets to hold the pieces together so I could snap a small weld to hold the pieces together and then finish the joint. With the first part I made a little mistake and welded the top side first. When the weld cooled down, it also shrunk and pulled the piece off the intented angle.
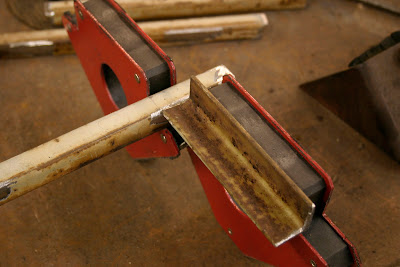
The next piece I welded on the other side and it didn't bend at all.
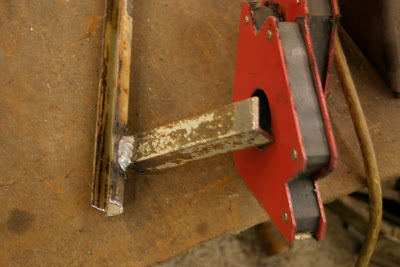
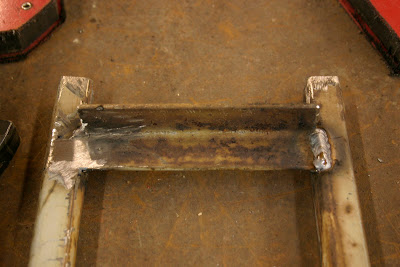
Here's how much the rack was twisted.
Then I clamped the piece down to the table and used the magnet to hold the other rail in place. This way I got it as straight as possible.
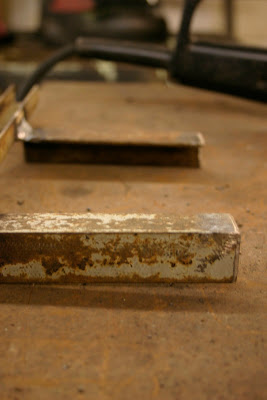
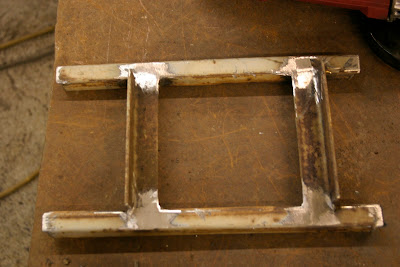
I welded the top sides too and then grinded the excess material away to make the base straight and nice.
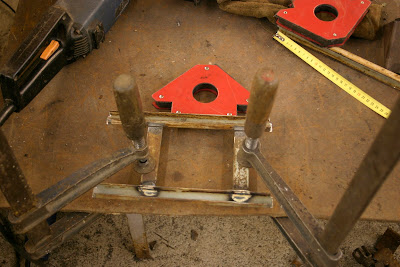
Here's the rack ready for test fit. I had to put it into a vice and twist it a bit to make it straight. It's not perfectly straight, but good enough for now.
HDD in place with the padding. Fits like a glove. I'm going to cut the padding a bit so the drive sits there nicely and doesn't bend the padding that much.
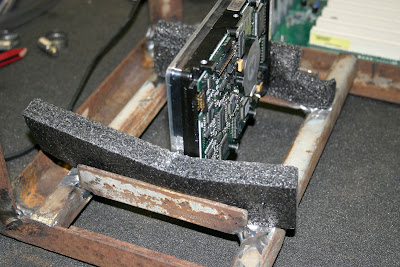
I took the padding off and here's how much room there is on each side. I'm pretty happy how this turned out. Later I drilled holes on each side of the rails for the M6 thread bars. I'll have a padded bracket on top fastened by wing nuts to hold the drives in place.

No comments:
Post a Comment