

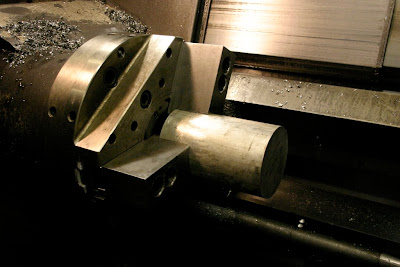
I started by making the bottom, so I'd have more solid place to grip it for the second phase. Here's the piece before anything has been done.
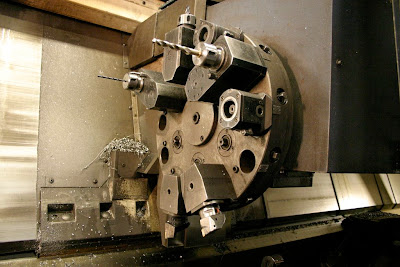
And some tool setup. I had to change them manually, because there was not enough room for all the tools at once in the revolver.
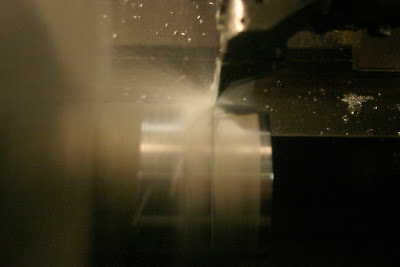
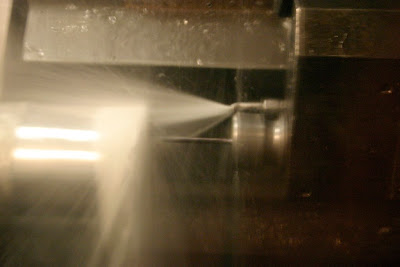
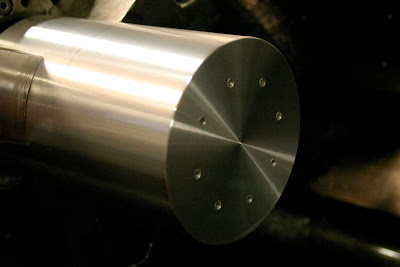
Outer finish being done.
Drilling the holes for the M6 threads. In the next stage I also drilled the holes for the 1/4" threads where the tubing is to be attached.
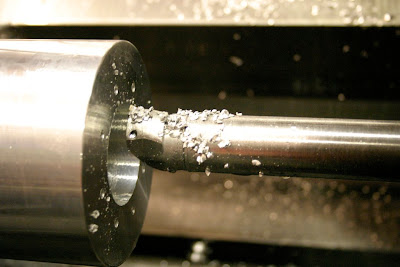
When finished I saw that the piece was not perfect cylinder and I had to remove that raw surface you're seeing. So had to make 0.5mm cone this end. I could not make it smaller all the way because the cap would then seem a little bigger. Not much but enough to annoy me.
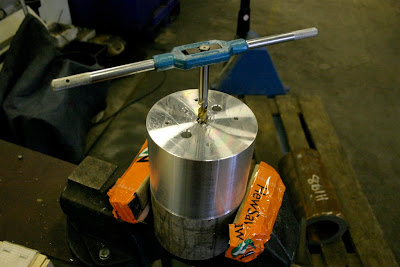
I tapped the holes by hand because of the extra coding and tool setup it would've needed I had them done before I'd even finished taking out the tools.
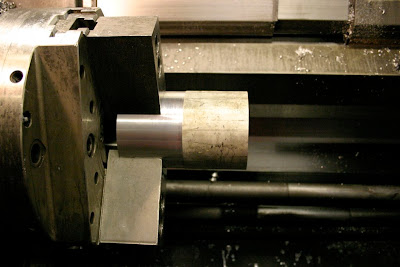
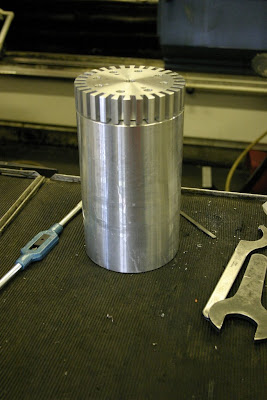
The second phase ready to go.
Outer finish and the cap attachment holes ready. I tapped these holes by hand too after doing a few millimeters start with the machine so I'd get them straight.
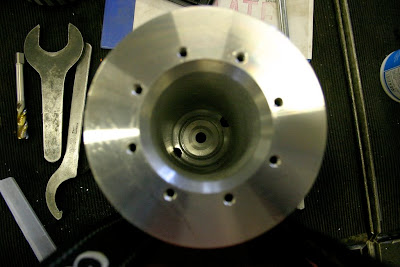
Drilling the initial hole for the tank interior. After measuring the inside, I ran into a problem. I didn't have tools long and thin enough to make the interior like I've drawn so there's a little compromise in the bottom. It should work anyway since it's only liquid that's going around in there.
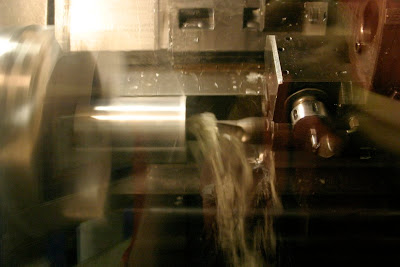
Machining the inside produced a lot more chips than I thought, so after every round I had to blow the hole clean. The interior was finished after this. I did not polish the interior so there's a little more surface to absorb the heat but I don't know how the bubbles will stick onto it. That remains to be seen.
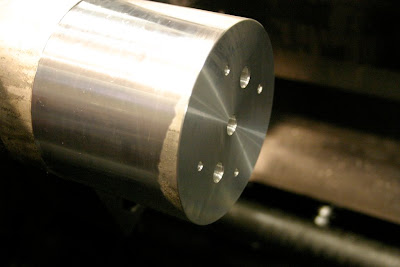
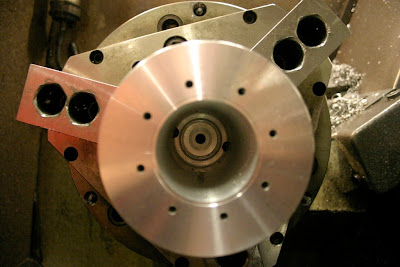
Here you can see the holes in the bottom. They came out pretty well. The intakes are on the outer diameter elevated a bit and the outlet is in the center so the possible bubbles won't get sucked into the system again. The cone for the cap is still to be done.
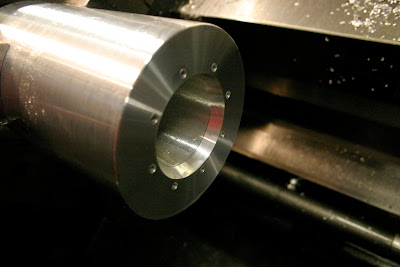
Cone done. I had to prove the fit a few times before it was good.
And here's the almost finished product. Still needs the grooves, but I think it's gonna look awesome.
The tank needed about 10 hours of working time (coding included) so far.
No comments:
Post a Comment